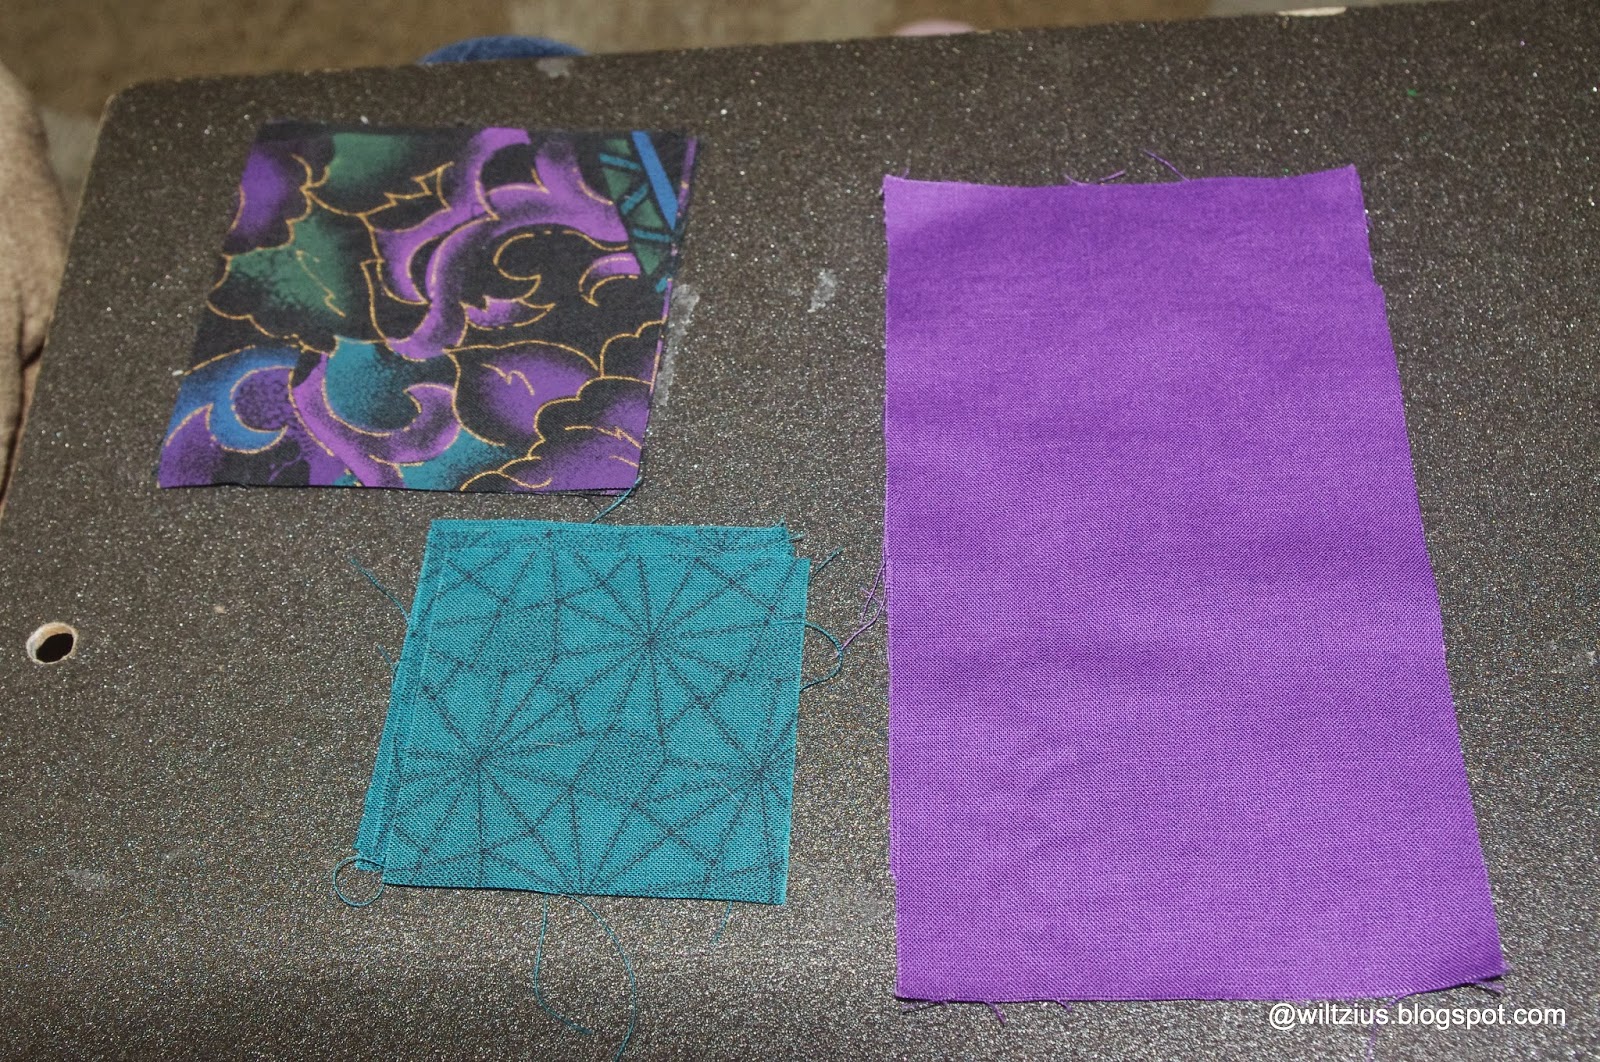
I've been working on my mother-in-laws quilt The quilt block is the old Honey Bee quilt.
When I start working on a block, I have been cutting the pieces from fabric, just like they do when we use the rotary to cut blocks out. (Or even strips) Each piece is the size it's supposed to be if you machine sewed.
Usually before I start cutting my fabrics, I cut templates that I use for marking.
I try to mark the templates to let me know what template is used for what. In this case, I only needed 3 main templates. I need to cut out more templates for the applique work, but not in a hurry to do that.
I then place my template on the fabric, and mark each one. Sometimes I mark them as I go, other times I mark them, and then group them into blocks. Once I do that, I take a piece of thread and "loop" them together, so that I can take them with me, without loosing pieces.
I also put the templates in a baggie so they are ready to use at another time.
Once the marking is done, I'm ready to sew.
Put the two squares right sides together. I then take a straight pin and pin the (right) corner of where I am to sew to.
Making sure to get the tips of both sides of both fabrics. That is a "guide line" that helps keep your fabrics straight, which makes it easier to sew.
I use good sharp needles, and Applique needles work just as good as others. Get a good needle that is stiff and don't bend easily.
I then take my needle and thread and start the stitches from the left side. Again make sure you have gotten the corner mark of both pieces of fabric to start.
Take one stitch - only one stitch.
Go back to the corner with your needle and thread and start stitching. That gives you a "back stitch" to your work. Take several stitches, even if it's two stitches, and pull the thread through.
As I was taking photos, I realized working with black doesn't show what I was trying to say, so I changed it over to the purple color.
Once you get to the end, bring the thread through, and back stitch about three times.
It does the same as back stitching on the sewing machine.
Bring your needle under the back stitches, and make a figure "8" knot. I sometimes do that twice. Once works just great.
It was hard to show the figure "8" so you can see how it's done.
Once that is done, take my needle and thread and run it through the 1/4" seam allowance area to hide it. Clip the thread off.
Iron to the darker fabric.
With the nine patch, I iron from the middle out. You can straighten it as you go.
It should look something like this.
People ask me how I make my points line up. It's easy and only takes a short time.
Stitch like above, till you get to the "four" seams.
You take your needle and cross it over to the opposite side. Like shown. Remember, I was taking photos with my right hand, so you don't get to see how I hold the fabric. I need someone to take the photos for me to make it easier to see.
Once you have crossed over, you will take the needle and to the back of the seam. Like stitching backwards.
This is the closest I can show you on how to do that.
The next stitch on the back side. You will then cross over to the front. Your doing an "X" in the four corners. When your thread is back to the front, then you do another back stitch, lining up the front and back fabrics.
Now continue on stitching.
When your done, he corners should look similar to this.
And your block should have close to perfect corners. Just like the photo.
I hope that helps you. I find this to be relaxing and easy to take with you. I hope this helps for you to be Happy Quilting!


No comments:
Post a Comment